


Migrating a WordPress website to AWS Lightsail involves a few steps. Lightsail is a simplified cloud service provided by AWS, offering a user-friendly interface and pre-configured options, making the migration process relatively straightforward. Here’s a step-by-step guide:
1. Create a Lightsail Instance:
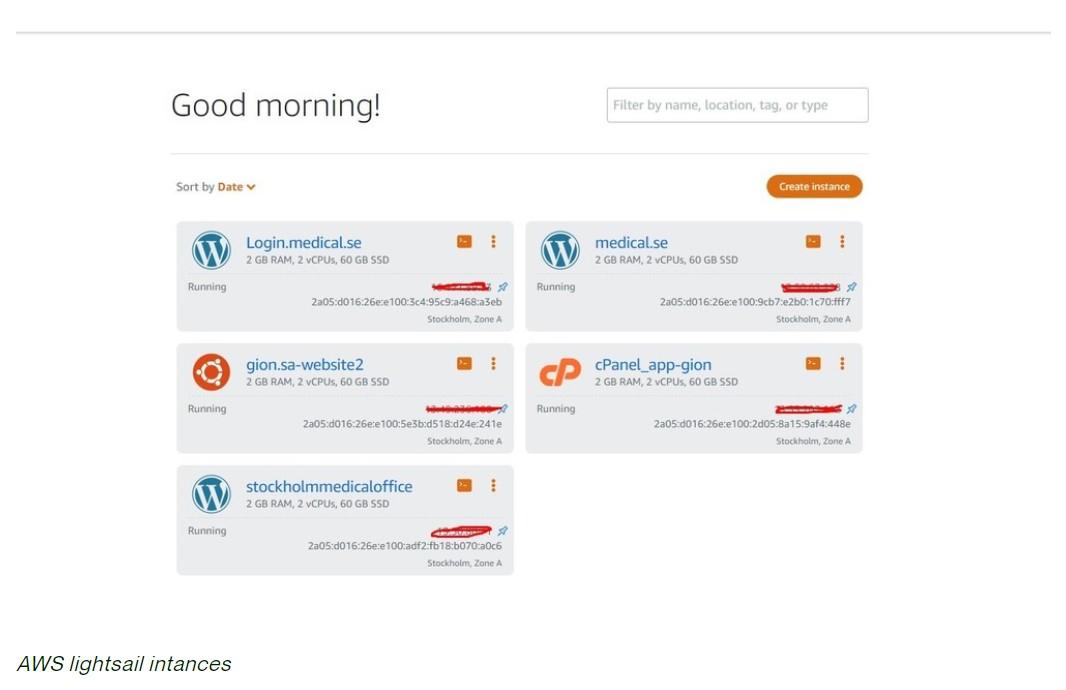
Log in to AWS Lightsail: Go to the AWS Management Console and navigate to Lightsail.
Create an Instance: Click on “Create instance” and select the appropriate instance image. Lightsail offers a pre-configured WordPress image, making the setup easier.
Select Instance Plan: Choose the instance plan based on your requirements (e.g., amount of RAM, CPU, and storage).
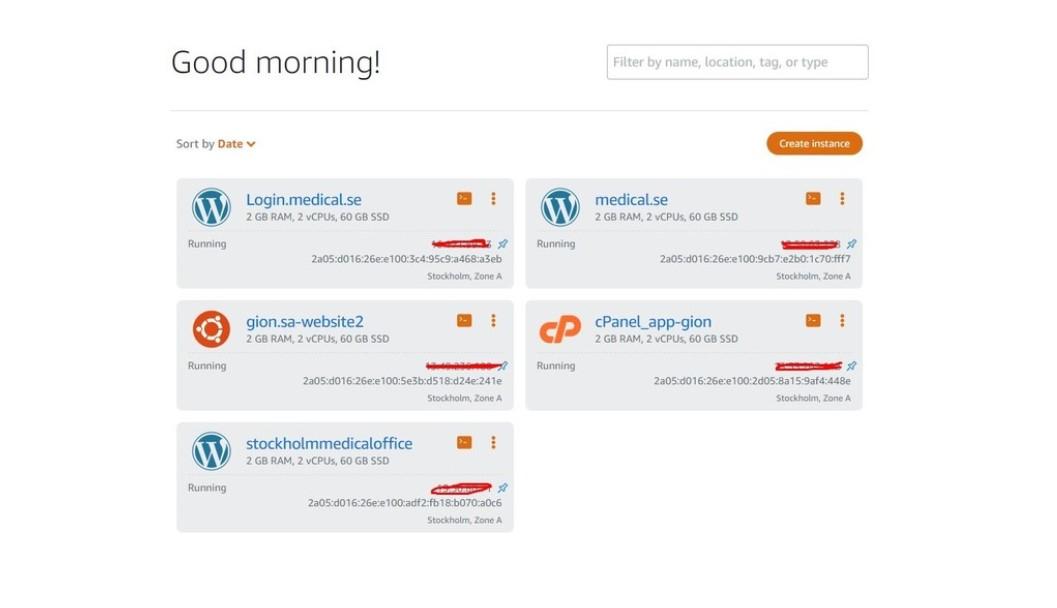
Name your Instance: Give your instance a unique name for easy identification.
Launch the Instance: Click on “Create Instance” to deploy your Lightsail WordPress instance.
2. Access WordPress Installation on Lightsail:
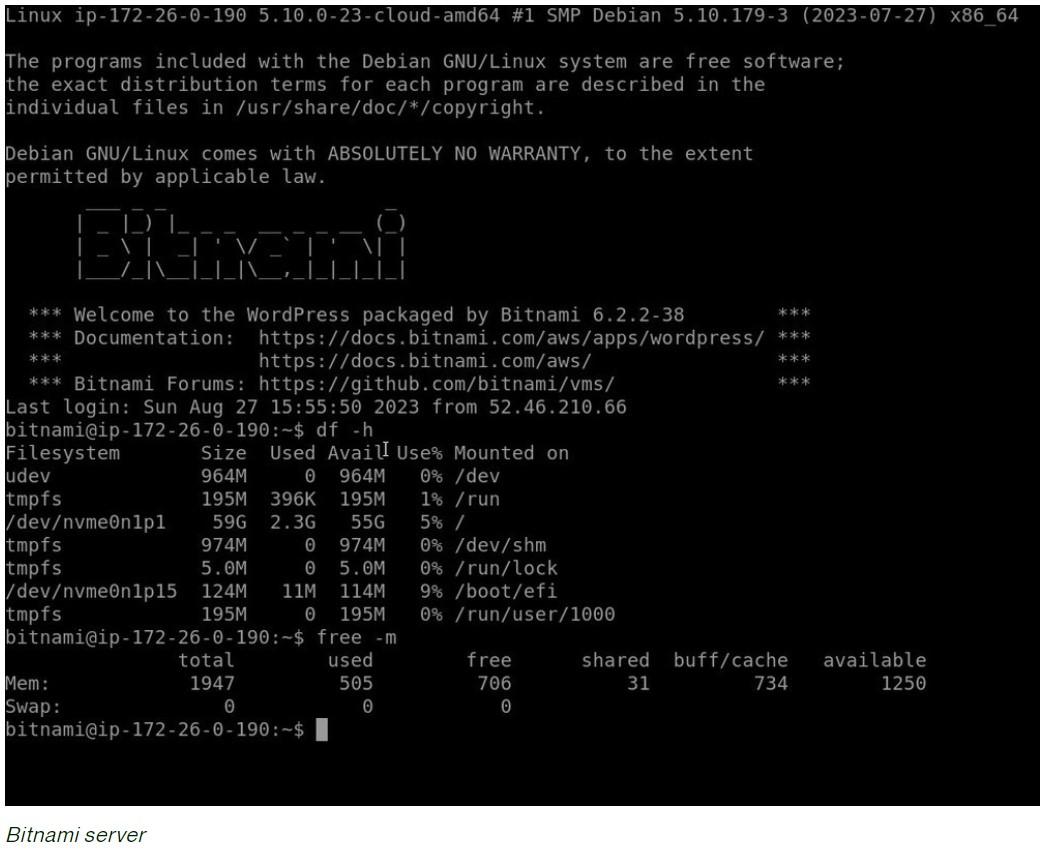
Access Lightsail Instance: Once the instance is running, go to the Lightsail console and access your WordPress installation through the browser-based SSH terminal provided.
Access WordPress Files: Use SSH to navigate to the WordPress directory. Typically, for the Lightsail WordPress image, it’s located in
/opt/bitnami/apps/wordpress/htdocs/.
3. Migrate WordPress Content:
Back up Existing WordPress Site:
- In your current WordPress site, use a plugin like “All-in-One WP Migration” or “Duplicator” to create a full backup of your WordPress site.
Download Backup:
- Download the backup file generated by the plugin to your local system.
Upload Backup to Lightsail:
- Using SFTP or SSH, upload the backup file to the WordPress directory on your Lightsail instance.
Restore the Backup:
- Use the backup plugin to restore the backup on your Lightsail WordPress instance. Follow the plugin’s instructions for restoration.
4. Domain Configuration:
Point Domain to Lightsail Instance:
- In your domain registrar’s settings, configure the DNS records to point to the IP address of your Lightsail instance.
Update WordPress Settings:
- Log in to your WordPress dashboard on Lightsail and update the WordPress Address (URL) and Site Address (URL) under Settings > General to match your domain.
5. SSL Certificate Installation (Optional but recommended):
Set Up SSL:
- Lightsail allows you to easily set up a free SSL certificate using Let’s Encrypt. Secure your site with HTTPS.
Install and Configure SSL Certificate:
- Follow the instructions in the Lightsail console to enable and configure the SSL certificate for your domain.
6. Test and Verification:
Check Website Functionality:
- Visit your domain to ensure that the website is accessible and functioning correctly on the Lightsail instance.
Test for HTTPS:
- Verify that the SSL certificate is active and the site is accessible through HTTPS.
7. Post-Migration Steps:
- Regular Maintenance:
- Ensure regular updates for WordPress and plugins. Set up backups and security measures to maintain a secure environment.
This process may vary based on your specific website setup and requirements. Lightsail simplifies many of these steps, making it user-friendly for hosting and managing WordPress websites on AWS.