
Transferring a domain name registrar involves moving your domain name from one registrar (the company where your domain is currently registered) to another registrar (the company where you want to manage your domain). Here are the general steps involved in transferring a domain name registrar:
Check Transfer Eligibility: Ensure that your domain name is eligible for transfer. Some domain extensions (TLDs) might have specific transfer restrictions or conditions.
Prepare the Domain for Transfer:
- Unlock the domain: Log in to your current domain registrar’s account and unlock the domain if it’s locked to prevent unauthorized transfers.
- Obtain the authorization code (EPP code): This code is required to initiate the domain transfer process. It’s usually found within your current registrar’s account settings.
Select a New Registrar: Choose a new registrar where you want to transfer your domain. Ensure they support the domain extension you have and provide domain transfer services.
Initiate the Transfer with the New Registrar:
- Create an account with the new registrar if you haven’t already.
- Initiate the domain transfer process through the new registrar’s website.
- Provide the domain name you want to transfer and the authorization code (EPP code) during the transfer initiation process.
Confirm the Transfer:
- You’ll receive an email from both the old and new registrars. Follow the instructions to confirm the transfer request.
- Verify the email address associated with the domain to approve the transfer.
Wait for Transfer Approval:
- The transfer process usually takes several days to complete. During this time, both registrars verify and authorize the transfer.
- Keep an eye on your email for any notifications or confirmation requests.
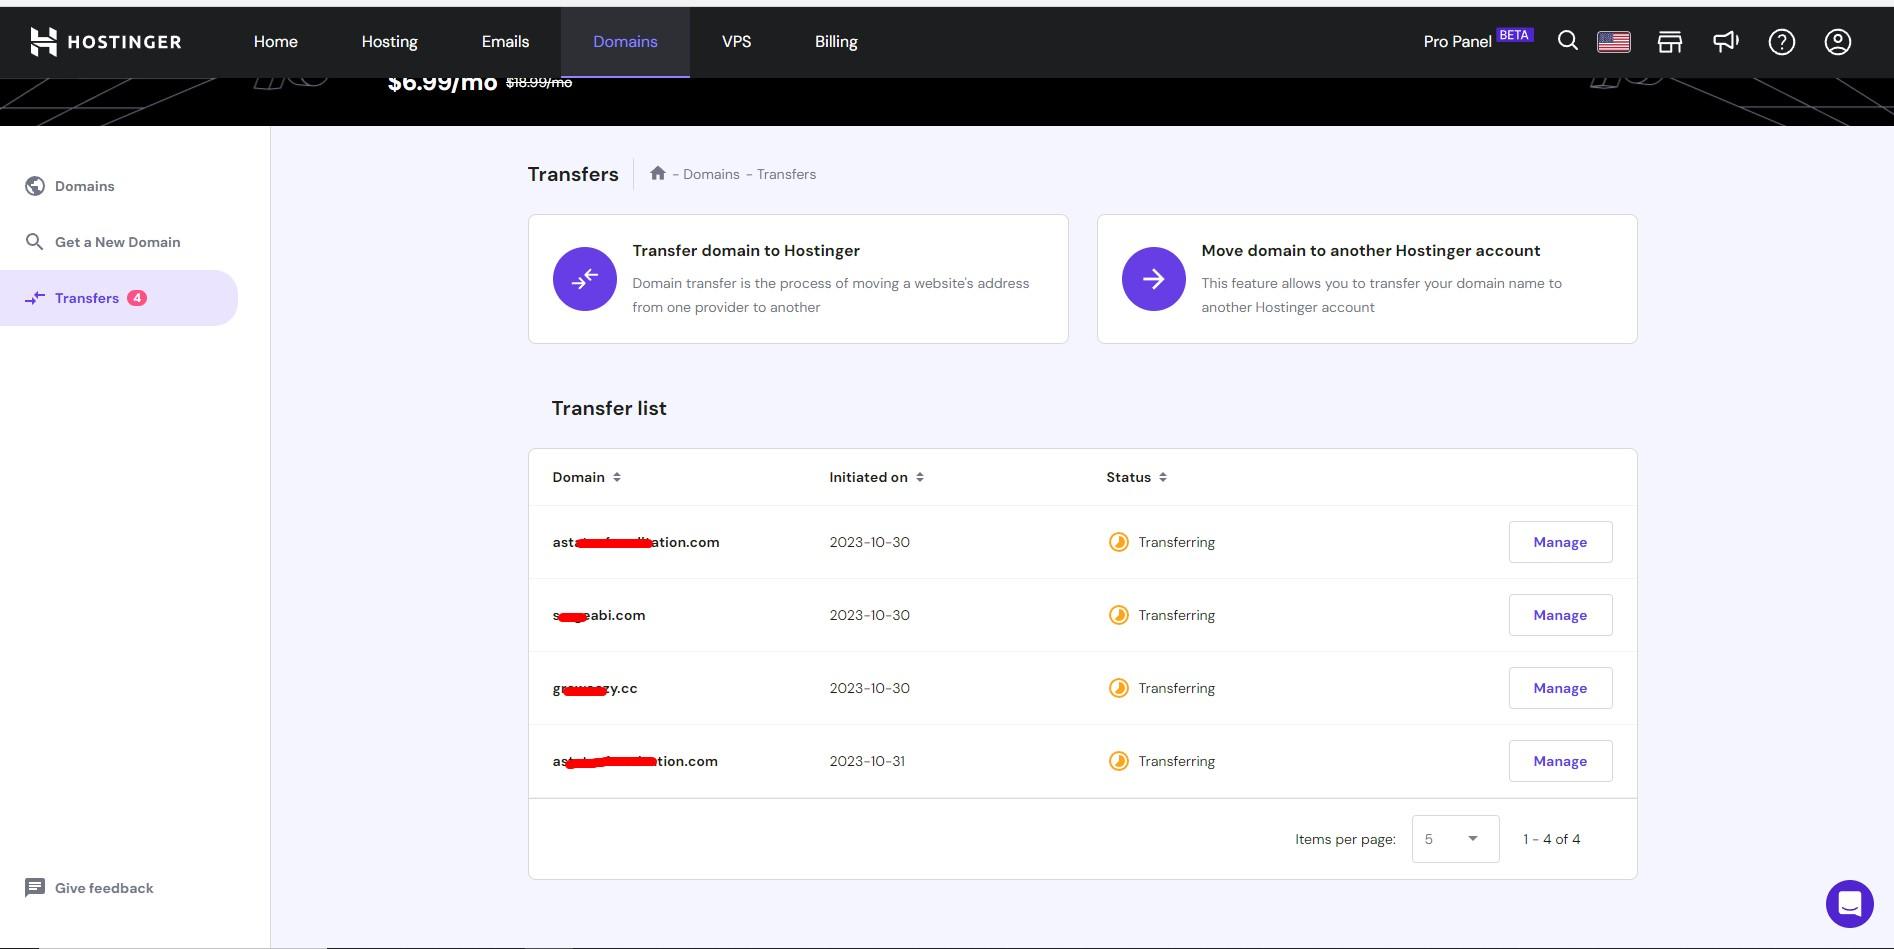
Check Domain Status:
- After the transfer is complete, log in to your new registrar’s account to confirm that the domain has been successfully transferred.
- Ensure that all domain settings, such as nameservers, contact information, and domain expiration date, are accurate.
Update DNS Settings (if necessary): If your domain’s DNS (Domain Name System) is managed by your registrar, make sure your DNS settings are correctly configured.
Monitor the Domain: Check your domain regularly after the transfer to ensure it is functioning correctly and that there are no issues with website or email functionality.
Renew the Domain (if needed): It’s recommended to renew your domain at the new registrar for an additional year (or more) to maintain ownership and avoid expiration issues.
Remember that these steps might vary slightly depending on the specific registrars and domain extensions involved. Always follow the instructions provided by both the old and new registrars to ensure a smooth and successful domain transfer process.